
By Angelo Randaci, Earth’s Ally Horticulturist
Angelo’s passion for plants has led him to explore many areas of horticulture including research, grounds management, technical training, design and nursery management.
How to Bring Plants Inside
Temperatures will soon drop to 50°F degrees and below in many parts of the country. Since most houseplants originated from the tropics, they cannot withstand sudden changes in temperature. Because light and humidity conditions are so drastically different, gradual acclimating from outside to inside conditions is preferred.
As days get shorter, the natural reduction of light is beneficial to your plants acclimating to lower light conditions in your home. Cooler outdoor temperatures however may cause shock, wilting, and leaf drop. A gradual acclimating over a few weeks will help your plants adjust to their new indoor environment. Begin the process by bringing your plants inside at night. Put them back outside during the day, gradually increasing their time indoors over the next few weeks. Keep a close watch on weather conditions to protect from a sudden cold spell or frost.
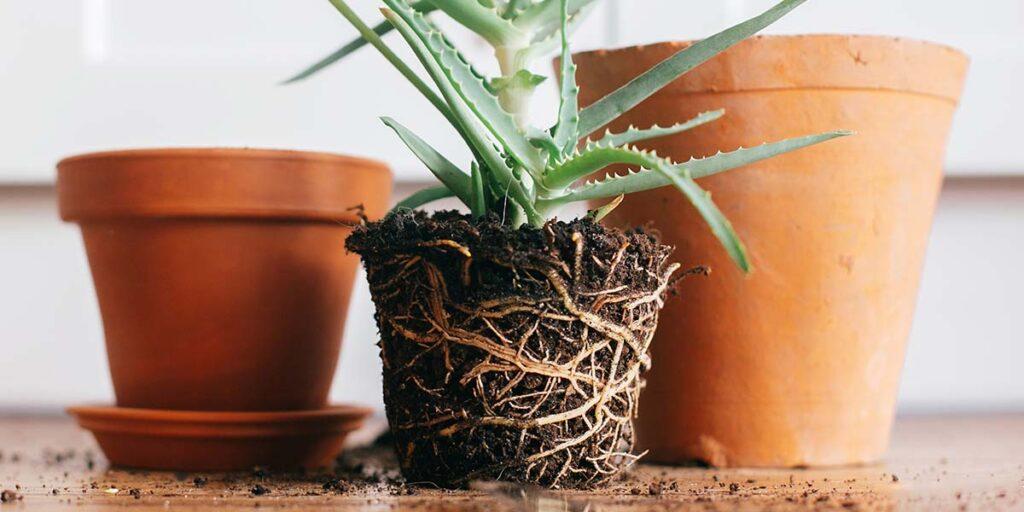
Inspect your plants before bringing them inside. Prune long, leggy stems. Remove the plant from its pot and inspect roots. Healthy roots should be either white, green, or tan. Soil should have an earthy scent. Foul smelling soil is an indication of root rot from poorly draining soil, overwatering, or fungus. Check for insect pests. Check the undersides of leaves for spider mites, aphids, and mealybugs. A hand lens is helpful to spot tiny pests. Treat with Earth’s Ally Insect Control to combat any soft-bodied insects.
Repot into the next size larger container in a well-draining quality potting mix. If repotting in the same container, give the pot a good scrubbing to kill any diseases or pests. Avoid potting mixes that contain fertilizer, while fertilizer is helpful to plant growth during summer months, fertilizing during periods of slow growth may be detrimental. If your plants are actively growing, use a low strength liquid houseplant fertilizer following label directions.
Humidity: Indoor conditions are generally dry due to heating sources in the home. A humidifier is the best way to raise humidity. Grouping plants together will also add humidity around the plants.
Healthy Water Sources: The quality of your tap water depends on where you live. Some plants are sensitive to chemicals added to tap water such as chlorine and fluoride which may cause brown tips or spots on leaves. Some water can cause minerals such as calcium and magnesium salts to accumulate in soil. Avoid using water treated with water softeners because the added sodium may severely damage your plants.
Oxygen in Water: Well-draining soil provides oxygen to plant roots, but water also provides oxygen content. Higher oxygen content in water is beneficial to plant growth. Cool water contains higher oxygen than warm water and rainwater has the highest levels of oxygen. The best water for your plants is therefore rainwater. If rainwater is not available, use distilled, filtered, or bottled water.
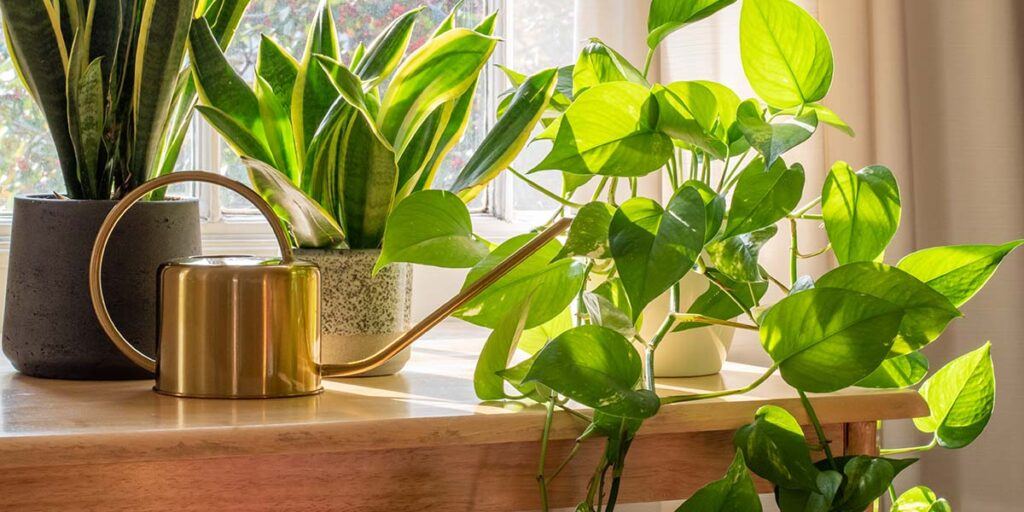
Light: The amount of light you provide is the difference between success and failure. Group your plants according to their lighting needs. Plants receiving insufficient light will lean toward their light source with pale leaves, weak stems, and little new growth. Plants receiving too much light will be extremely compact. In this case, leaves may curl under or develop yellow patches. A south-facing window will supply maximum light. A west-facing exposure is the next best choice. If you have inadequate light, consider a grow light system. Many attractive grow light options are available that will add aesthetic appeal to your indoor surroundings.
Helpful Tips:
- Clean windows to maximize light intensity on your plants.
- Determine where your plants will go. If you have plants in hanging pots, decide where to place ceiling hooks. Other plants will require shelf space. Make sure your shelves are wide enough to accommodate the containers. Decide on type of trays to put underneath your plants to collect excess water. You might not want to keep all your outdoor plants, especially if space is limited. Just think of the fun you will have buying new plants in the spring.
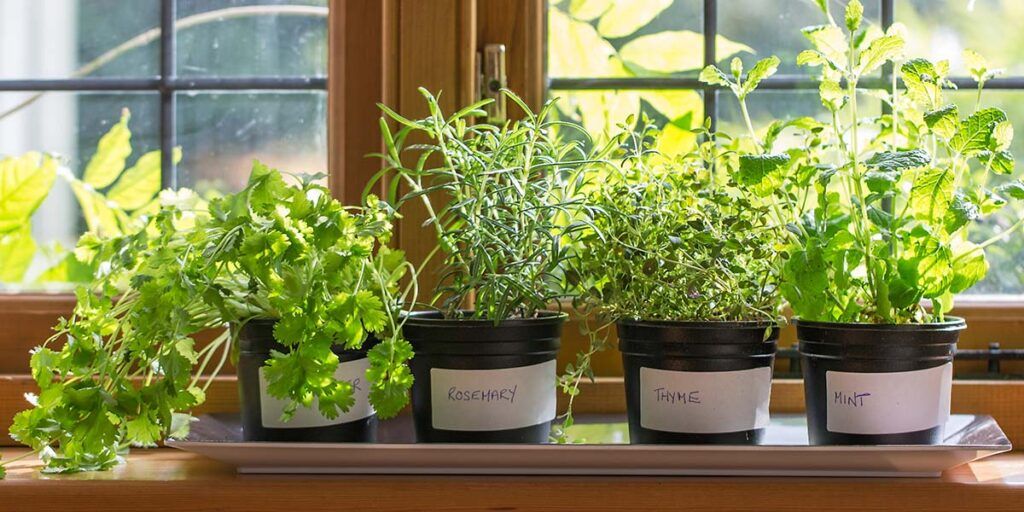
- A windowsill in your kitchen is a perfect place to grow your favorite herbs within easy reach for cooking. Make sure you either have adequate light such as a south facing window or by the addition of a grow light. If your herbs become leggy or stretch toward the light source, more light is necessary.
- Take cuttings of annuals from your garden. Impatiens, coleus, and begonias, cut back and exposed to bright light, will extend your season.
- Some plants that you bring indoors will drop their leaves naturally due to reduced light and their new environment. Be patient. They may grow new leaves acclimated to the new conditions.
- Grow lights expand your growing options. They can be placed anywhere you want to show off your plants. A simple grow light stand will allow you to enjoy your gardening hobby throughout cold winter days.
- Inspect your plants regularly for pests and diseases and treat with Earth’s Ally Insect Control and Earth’s Ally Disease Control as needed. The formulas can be used both outdoors and indoors, and are safe for people, pets and the planet.
- Protect plants from cold windowsills, especially at night.
- Give plants a quarter turn toward your light source each week to promote symmetrical growth.
- Do an internet search for a list of toxic plants before you bring them indoors. Some plants may not be suitable inside your home. They may cause allergies or are toxic to children and pets.
- If you use tap water to water your plants, it is a good idea to periodically replace the tap water with rainwater, filtered water, or distilled water to flush out any contaminants in the tap water. Do this once a month or so.
Tips for Planting and Replanting in Clay Pots:
- Clay pots will help remove excess moisture from the soil and guard against overwatering. If reusing a clay pot, first clean out the soil. A stiff wire brush works great for this step. Next, soak the pot in a 1:4 ratio of vinegar to water to remove minerals that build up in the clay or soak in soapy water overnight.
- Soak your pot in water for 30 minutes or so to absorb water. This will help prevent your newly potted plant from losing water through the clay. Once repotted, water your plant generously until water comes out of the drainage hole.
- Use plastic saucers underneath your pots instead of clay. Clay saucers will transpire water and stain surfaces.
- Do not leave clay pots outdoors in cold climates. Freezing/thawing temperatures can crack your pots.
We’d love to hear how Earth’s Ally is helping you grow healthy plants, both outdoors and in your home! Share your experience and stay connected with the #EarthsAlly community on Facebook, Instagram and Twitter for access to our latest blog posts, giveaways and exclusive promotions.
