
By Angelo Randaci, Earth’s Ally Horticulturist
Angelo’s passion for plants has led him to explore many areas of horticulture including research, grounds management, technical training, design and nursery management.
5 Gardening Myths
There are common gardening myths that we easily accept as true. Even though they seem to make sense, these accepted methods are often backed more by folklore than research and science. In this article, I will discuss five gardening myths and misconceptions, explain why they are untrue, and give tips to improve your gardening practices.
Myth #1: Putting Stones or Sand in Bottom of the Pot Improves Drainage
Over the years, the myth of putting stones in the bottom of pots was treated as fact. It is not necessary to put anything in the bottom of pots. Adding a layer of stones, gravel, rocks or similar materials impedes drainage because of something called a perched water table. This involves two opposing forces at play in a wetted soil. Gravity which exerts a downward pull on the water, and capillary action which exerts an upward pull on the water. The area where these two forces balance out is where the layer of water-saturated soil is formed at the bottom of the pot. This is the area where the water is ‘perched’ and cannot move. This perched water table area will not drain unless water is taken up by plant roots or if the potting mix dries out. All containers regardless of growing medium will have a perched water table. Adding gravel to the bottom of a pot reduces the volume of the potting medium and pushes the perched water table higher up into the pot. Water collects or ‘perches’ in the soil just above the gravel.
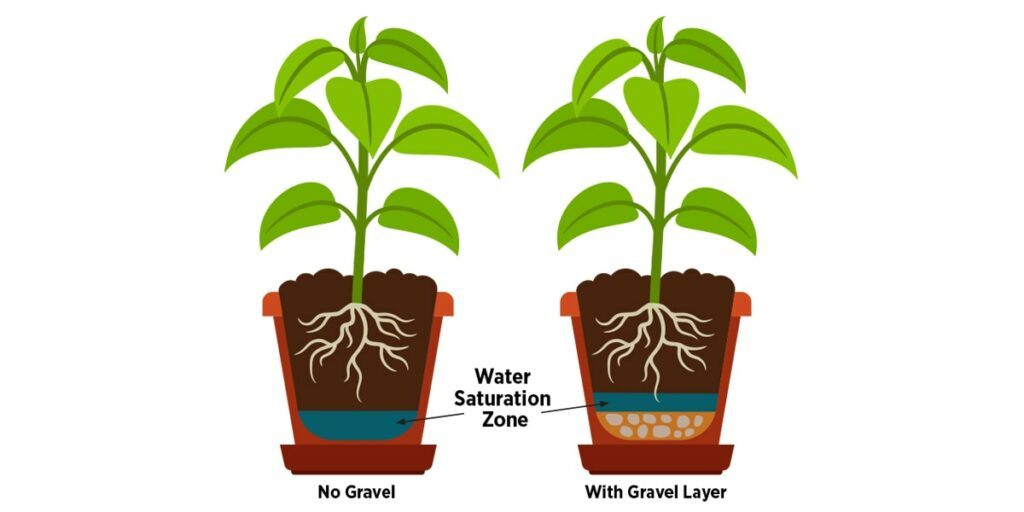
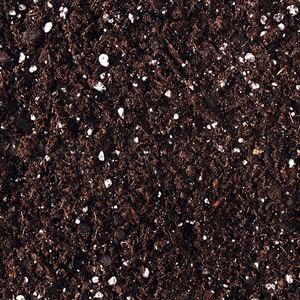
The best way to increase drainage in containers is to alter the composition of the entire potting medium with a soil amendment. To improve drainage, add perlite or other organic amendment throughout your potting mix. To test for drainage, fill an empty container with potting mix and apply water. Water should move through the potting mix and drain quickly. If water sits on top of the soil and drains slowly, add more perlite or other amendment and test again.
While plastic pots usually have plenty of drainage holes, clay pots often have only one drainage hole in the bottom. Place one rock or piece of broken clay pot, mesh, or other material over the drainage hole to prevent your potting soil from leaching out of the bottom. Plastic containers usually have plenty of drainage holes and will not need anything placed in the bottom.
There are instances when adding stones for drainage can be useful. If you have a very large, deep container, adding rocks, gravel, or any large stones to fill the space in the bottom will save you from having to use too much potting soil. It will also add weight to your container to keep it from blowing over during high winds.
Earth’s Ally Tips for Beginners:
- Check your pots periodically to see how well they drain. Drainage holes can become clogged and not drain well.
- Put your potted plant inside a decorative container to hide the ugly pot to make sure it’s a plant pot with drainage. In this case, you can add gravel to the bottom of the decorative container and place the potted plant inside to catch access water or raise the level of the pot if necessary.
- A good quality potting mix will have adequate drainage if you water your plants only as needed. Do not over-water your containers. Let them dry out a bit before adding more water. When you do water, add water until you see it drain out of the pot.
Myth #2: Landscape Fabric and Weed Barrier Cloth Will Keep Weeds Out
In theory, Landscape fabric is placed on the ground then covered with mulch, suppressing the weeds. This is commonly called a “garden weed barrier.” Theoretically the weeds cannot grow through the cloth and die. In theory, that should work. While landscape fabric may work for a while, it won’t over the long term and will cause other problems. While seeds sprouting under the cloth will die, perennial weeds will eventually grow through or around the fabric. Spreading-type weeds can grow quite a distance underground to find an opening in the cloth. In time, landscape fabric will stick up through the top layer of mulch and create an eyesore. Placing more mulch on top to hide the weed barrier will make the problem worse. As the mulch on top breaks down it becomes a growing media for weeds.
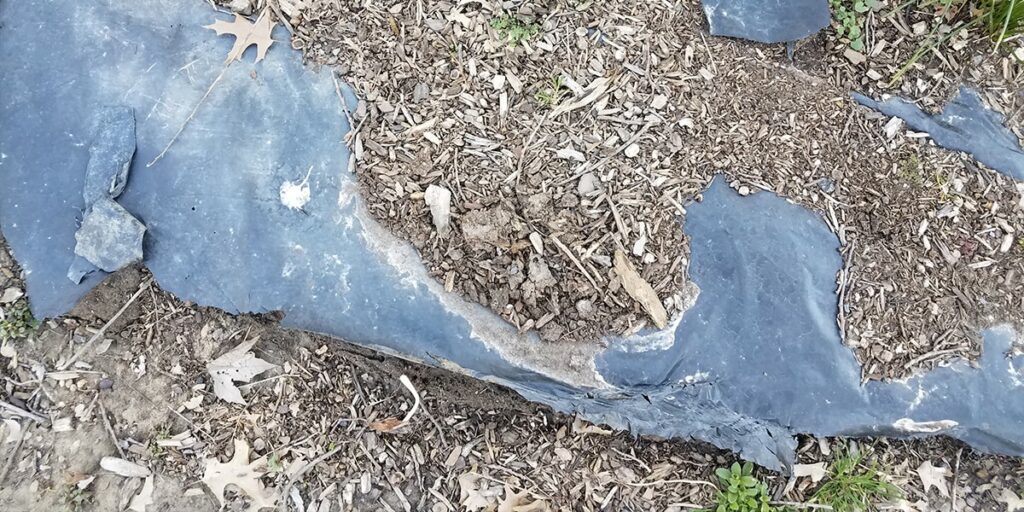
Landscape fabric is supposed to allow rain to penetrate the fabric through tiny holes. Although some rain will go through the holes, a good bit of water will flow over the top of the cloth. Plants underneath the fabric may not receive adequate water and remain dry.
Landscape fabric is not good for the health of soil. It reduces the amount of air and organic matter to reach the surface of the soil. This can destroy soil life which depends on air and food, causing a reduction in soil nutrients as the soil structure degrades.
Roots of trees, shrubs, and perennials will grow into and through the fabric. When the fabric needs to be replaced, roots will be damaged.
Other reasons include:
- The plastic fabric adds to environmental waste.
- Moving and dividing plants is difficult through the weed barrier.
- Weeds are difficult to pull out of the fabric.
- Fabrics made from geotextiles will degrade in as little as one year unless protected from sunlight.
Earth’s Ally Tips for Beginners:
- Instead of landscape fabric to smother weeds, cover the area with 4 to 6 inches of mulch.
- Use Earth’s Ally Weed & Grass Killer, perfect for mulch beds and planting beds. It kills weds down to the roots.
- Landscape fabric is useful to place under stone pathways and driveways as it will keep the stones from disappearing in the soil.
Myth #3: Using Pebble Trays to Increase Humidity for Indoor Plants
Using a tray with pebbles filled with water is said to add humidity for your plants. During summer months the house plants placed outdoors will get all the humidity they need, but during cold winter months, in heated homes, it is a different story. As humidifiers, pebble trays will not add enough humidity to compensate for the dryness of heated homes. The large volume of dry household winter air absorbs most of the water that evaporates from pebble trays and dissipates into the air all through the house. This leaves little if any humid air for the plants.
Earth’s Ally Tips for Beginners:
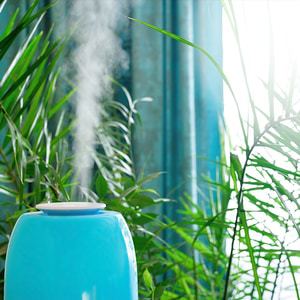
- Place a humidifier in the room to increase humidity.
- Group plants together on pebble trays. Plants release moisture through their leaves by transpiration creating a higher humidity layer around leaves. The effect will be limited unless you have a lot of plants together.
- Make sure your plants are growing in a good quality potting soil. Roots may be damaged by poor quality potting mixes and because of this inhibit the transport of water to leaves and flowers. The symptoms of drying or yellowing leaves will often appear as a low humidity problem.
- Use grow lights during the short days and low natural light of winter. Adequate light helps the plants make food and build healthy roots, foliage and flowers. This may have a greater impact on plant health than low humidity.
- Use pebbles on the bottom of saucers rather than in the pots for aesthetic value. Attractive pebbles are decorative features for pots and will keep roots out of standing water.
Myth #4: Misting Plants Will Increase Humidity
When misting a plant with a spray bottle of water, droplets from the spray sit on the leaves until the water evaporates. This adds humidity, but only until the water evaporates off the leaves. The water then turns into vapor and is dissipated throughout the room just like the water added to a pebble tray. Humidity will only be higher while the tiny water droplets are on the plant. Beware that water sitting on leaves can cause fungal problems.
Earth’s Ally Tips for Beginners:
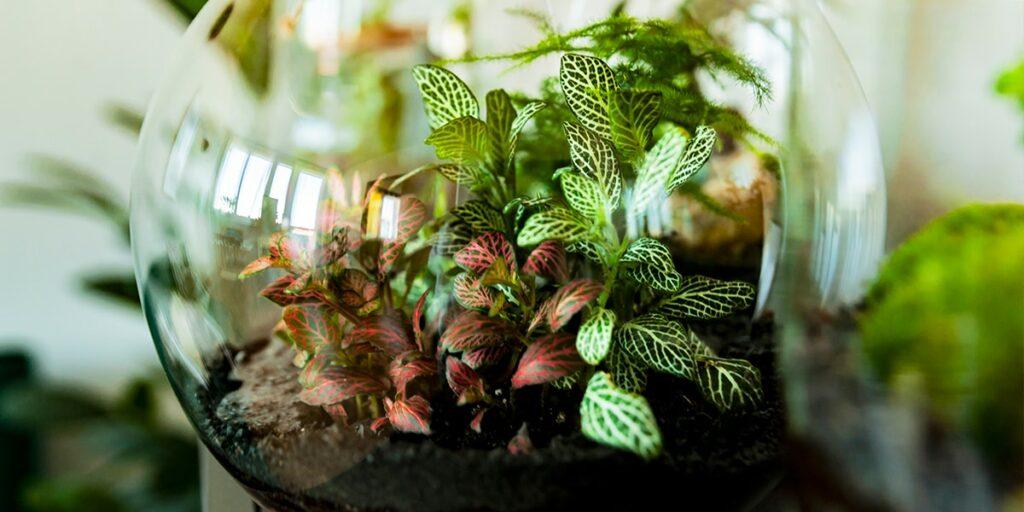
- Use a terrarium or other enclosure to increase humidity. The humidity can be regulated by fully or partially covering the top of the terrarium. If you cover 30% of the top you will achieve a 50% increase in humidity. If you cover 90% of the top you will achieve 70% humidity and covering the entire top will give you 100% humidity. If no top is added, the humidity will be about the same as a pebble tray. Fungus problems can also arise within the humidity of a terrarium.
- To keep disease at bay, preventative treatments of fungicide, like Earth’s Ally Disease Control, are a helpful tool to improve plant health.
Myth #5: You Should Disinfect Your Pruning Tools with Bleach
It is important to disinfect your pruning tools to avoid the spread of disease. If you are working with a diseased plant, your pruning tools (pruning shears, saws, loppers, etc.) should be disinfected between cuts. If the plant appears to be healthy, you can disinfect after every few cuts. Bleach is often used as a disinfectant but is not the best option because bleach is corrosive and will damage metal tools. Bleach is also very phytotoxic and may damage the cells of the plants being pruned.
Earth’s Ally Tips for Beginners:
- Use rubbing alcohol instead of bleach to disinfect your tools. Either dip your tool into a jar of the alcohol or wipe the surface with cloth dipped in the alcohol. If you have a hand sanitizer that is alcohol based, you can use it as well.
- Let your blade dry before making your next pruning cut or wipe it dry with a cloth to avoid damage to the next branch to be cut.
- Make sure your tool is sharp. A dull blade may contain pitted edges that keep your disinfectant from complete coverage.
- Never apply any disinfectant directly to the wound created by your pruning cut. This will kill plant cells and leave the wound more susceptible to fungus.
There are many myths about maintaining an organic garden. Armed with information and the right tools you are on your way to creating a beautiful, safe oasis for your family and pets. We’d love to hear how Earth’s Ally is helping you grow organic plants. Share your experience and stay connected with the #EarthsAlly community on Facebook, Instagram and Twitter for access to our latest blog posts, giveaways and exclusive promotions.
