
By Angelo Randaci, Earth’s Ally Horticulturist
Angelo’s passion for plants has led him to explore many areas of horticulture including research, grounds management, technical training, design and nursery management.
If you are interested in boosting your health and looking for food packed with nutrients that are easy on your digestive system, inexpensive, and simple to grow at home, then microgreens are for you. Microgreens are a cost-effective way to boost your nutrient intake. They’re sustainable, incredibly dense in nutrients with beneficial compounds, and often contain higher nutrient levels than more mature vegetable greens.
Microgreens usually mature in about a week or two but factors such as light, temperature, and growing medium can enhance or delay the process. You can grow them indoors year-round and there are many ways to incorporate them into your meal plans since they offer a wide range of textures and flavors. Add them to any salad, mix them into a smoothie, add to the final stage of soup making, sandwiches, stir-fries, or for a boost of flavor to any savory dish.
What are microgreens?
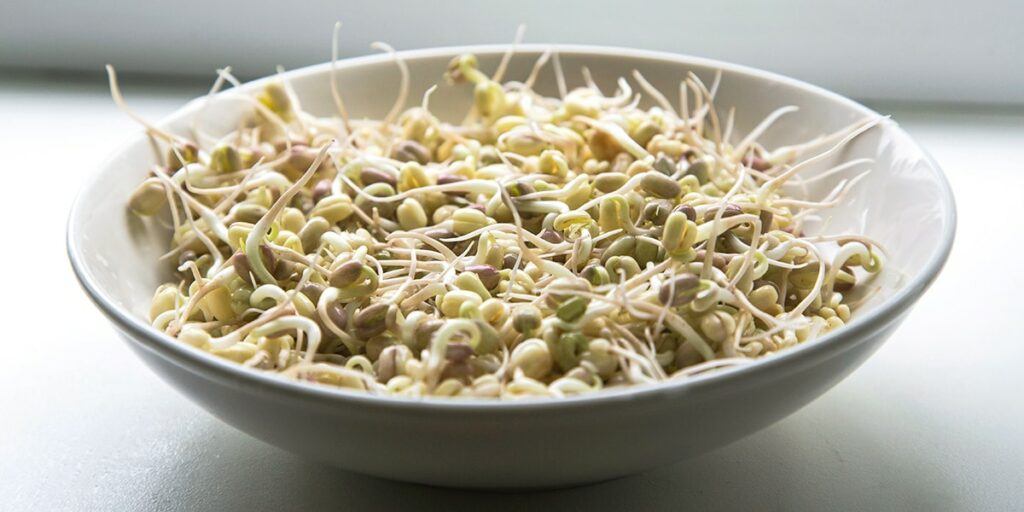
Microgreens are not sprouts. The difference between them is a matter of degree of maturity. Sprouts are young shoots grown in water for 3-5 days and harvested when still pale in color or just beginning to show a hint of green. Growth is initiated by using the nutrition already present within the seed. Light is not necessary during this brief process because they are harvested before developing true leaves. The whole sprout is eaten, roots and all. The mild flavor adds texture as well as crunch to many cuisines.
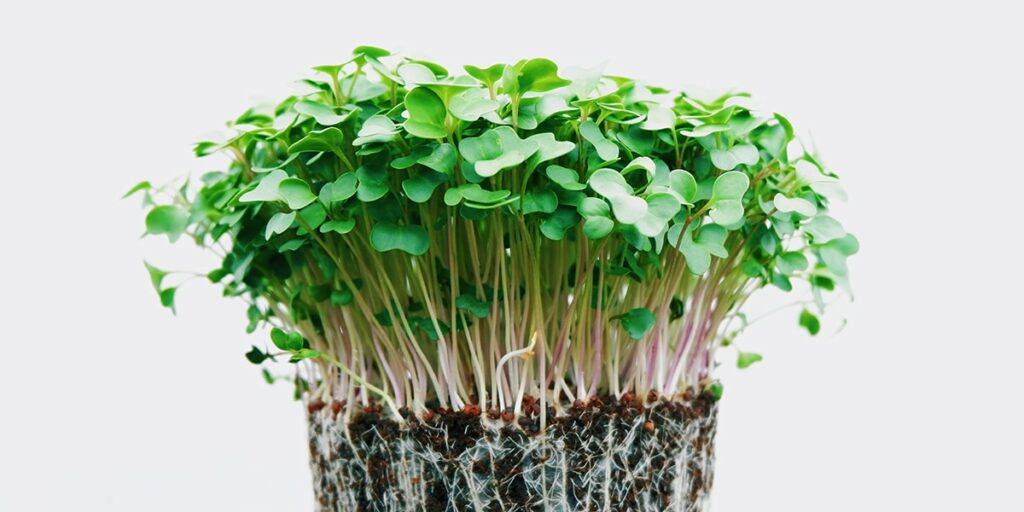
Microgreens are more mature, having true leaves, stems, and roots. They are often considered a superfood because they contain key nutrients, minerals, vitamins, and antioxidants. The tops and stems are harvested by cutting them off about one inch above the roots and eaten raw.
Water: Use filtered water. Your filtered water should ideally be a pH of 6 – 6.5 but most microgreens will grow well with normal tap water that is anywhere between 6 and 7. Whatever water you use, it’s a good practice to test to see if your water is too alkaline or too acid. If after testing your water with pH strips, your pH is higher than 6.5, use a mild household acid like strained lemon juice or vinegar. To lower the pH, add 1/2 teaspoon of lemon juice to a gallon of water and stir thoroughly then recheck the pH. If still too high, continue with lemon juice until it comes down. If the pH is lower than six, which is rare, add a small amount of baking soda. Test until you reach the desired pH.
How to Grow Microgreens at Home
Water method using growing pads or mats (hydroponic):
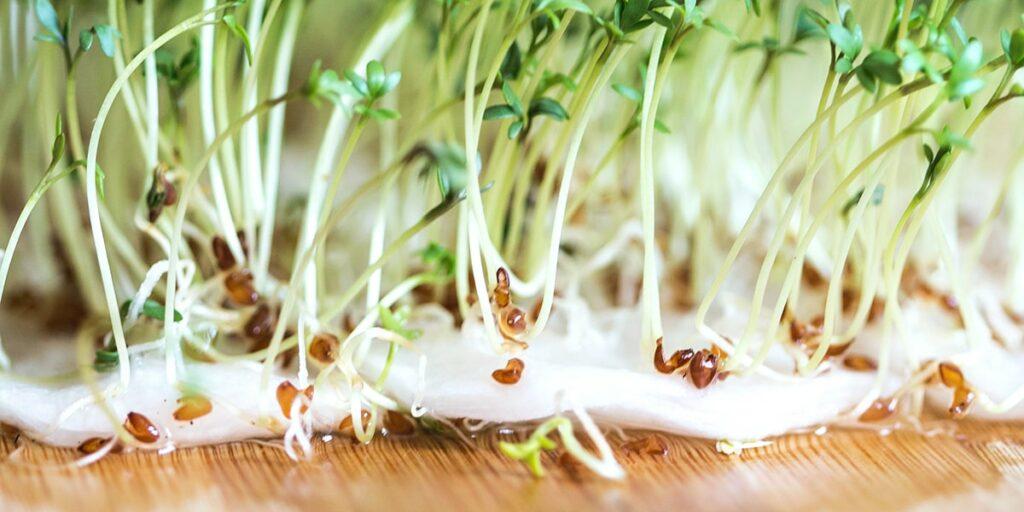
Hydroponics is a germinating method using growing pads or mats instead of soil to provide the medium to support the microgreen roots. The matting is what the roots will grow through and into the water below. The mats and roots are kept moist throughout the growing process. Growing microgreens hydroponically is the cleanest way to grow and harvest microgreens since there are no soil particles to clean from the greens or your workspace when harvested. You can use any food-grade plastic containers that hold water for the bottom. Cut a piece of matting to fit your container. There are several growing mediums to use for matting such as coco coir, burlap, jute, hemp matting, and other types of growing mats designed especially for growing microgreens. Other options include silicone dehydrator sheets and silicone steamer liners which are all reusable. Paper towels work as an inexpensive type of matting as well.
The grow mats will accommodate any size of seeds because of the solid surface. Other types of liners with holes may not accommodate smaller seeds. Do a little research to help you decide what will work best for you. You can also purchase a microgreen growing system which includes everything you need to grow microgreens. Regardless of which method you choose, you will want to provide darkness for the seeds until they germinate.
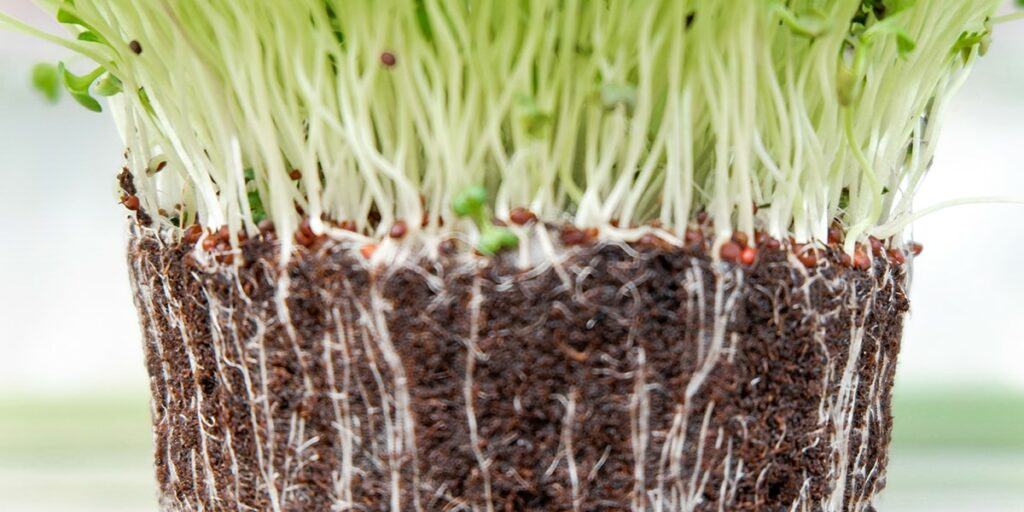
After the seedlings sprout, roots will begin to grow through the matting. Remove the dark covering and move them to a light source so they can photosynthesize and create sugars. Adequate light (six hours of natural light or 12 hours of artificial light) encourages shorter, denser microgreens on shorter stems.
Soil Method:
Begin by choosing a container about 2-3 inches deep with drainage holes. Choose containers that are easy to clean with smooth sides and bottoms. The containers should be food grade and BPA-free. You will want to put a tray without holes underneath the container to catch any excess water.
Next is selecting the growing medium. You can purchase an organic seed starting mix or blend your own. Seed starting mixes are finer soil blends that make it easier for seedlings to germinate and grow. To prepare your germinating trays, pre-soak your soil to make sure it is evenly moist. Soilless mixes that contain peat moss repel water when dry so be sure they are good and wet, to begin with. Add about 1.5-2 inches of soil in the tray and gently tamp it down to create an even surface. The surface should be firm, but not compacted. Gently mist the surface again with a spray bottle.
Before sowing seeds, you can pre-soak your seeds to initiate the germination phase. Pre-soaked seeds will sprout sooner and more evenly. A list of seeds benefiting from a pre-soaking are chard, beets, sunflowers, pea seeds, barley grass, wheatgrass, oat grass, and alfalfa.
While these seeds will be easier to spread evenly in your tray, smaller seeds such as kale, broccoli, radish, cabbage, and kohlrabi are more difficult to sow when wet. Sow these seeds while dry and generously mist the soil with a misting bottle.
Mucilaginous seeds (seeds that develop a gel-like coating on the outer surface of the seed upon contact with moisture) should not be pre-soaked because they will be difficult to spread on your growing medium. This list includes basil, arugula, cress, mustard, chia, and flax.
Space your seeds thinly and evenly on your soil surface and gently tamp the seeds so they make firm contact with the soil. You may cover large seeds with a thin layer of soil, but tiny seeds should not be covered. Mist them thoroughly and cover them with another tray or clear dome covered with black plastic. The seeds require both humidity and darkness to germinate. Set your tray in a warm area where the temperature is 65-75 degrees Fahrenheit and mist daily. Once the seeds begin to sprout, uncover your tray so they will receive light. They will thrive in direct sunlight, incandescent lights, or grow lights. Rotate your tray every day or so if you see your seedlings stretching for their light source. Check your seedlings daily and apply water as needed to keep the soil moist but not soggy. Your microgreens will be ready to harvest in 7 to 10 days. Harvest the greens during the early morning or evening for optimal freshness.
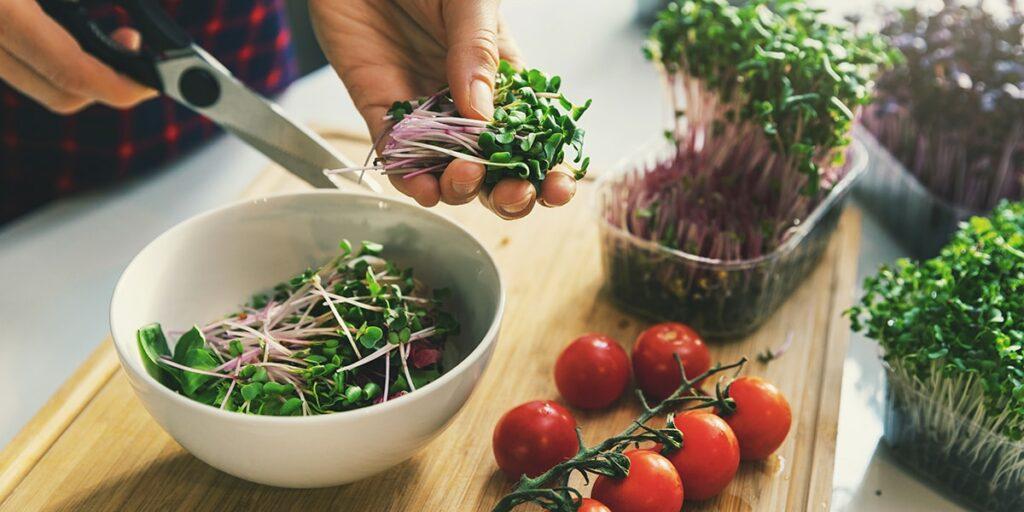
To harvest use scissors or a sharp knife. Clip the greens close to the surface of the soil. Rinse using a colander or similar kitchen tool in cold water and let them air dry under paper towels. If no soil is attached, then rinsing the microgreens is not necessary. Microgreens last up to two weeks in the refrigerator. They will not re-grow once harvested. Recycle your spent soil in the garden or compost pile.
Types of Microgreens to Consider Growing
- Alfalfa
- Arugula
- Barley grass
- Beets
- Broccoli
- Cabbage
- Chard
- Cilantro
- Hamama
- Kale
- Kohlrabi
- Oat grass
- Pea seeds
- Radish
- Sunflowers
- Wheatgrass
We’d love to hear how Earth’s Ally is helping you care for your microgreens and garden! Share your experience and stay connected with the #EarthsAlly community on Facebook, Instagram and Twitter for access to our latest blog posts, giveaways and exclusive promotions.
