
By Angelo Randaci, Earth’s Ally Horticulturist
Angelo’s passion for plants has led him to explore many areas of horticulture including research, grounds management, technical training, design and nursery management.
I’m an anthophile, a person who loves plants. It’s an addiction that knows no end and one that mostly involves working with soil; weeding, growing, grooming, and generally fussing over plants both inside and out. While this is not a hobby for everyone, most of us like having living plants within our living environment in some capacity. If your situation is such that you have too little room in your home or a small workspace or if you like plants but don’t want to bother with soil, repotting, and generally dealing with plant quirks, I may have the perfect solution. Air plants. Air plants are the perfect houseplant in many ways. They are very low maintenance, don’t require messy soil, and can be placed just about anywhere there is bright light. Hang them like a picture on the wall, or on a shelf, or come up with original methods of display. Even if you’re not a house plant enthusiast, read on to learn about this unique genus of plants that will grow on just about anything. No soil is required.
What are epiphytes?
Epiphyte is a term translated from the Greek epi (on top of) and phyte (plant), simply meaning that they are plants that grow on top of other plants.
Members of the bromeliad, orchid, and fern families are all considered epiphytes. They are not parasitic, meaning that they do not feed off the host for survival. The most well-known member of the bromeliad family is probably the pineapple although, unlike air plants, it grows in soil.
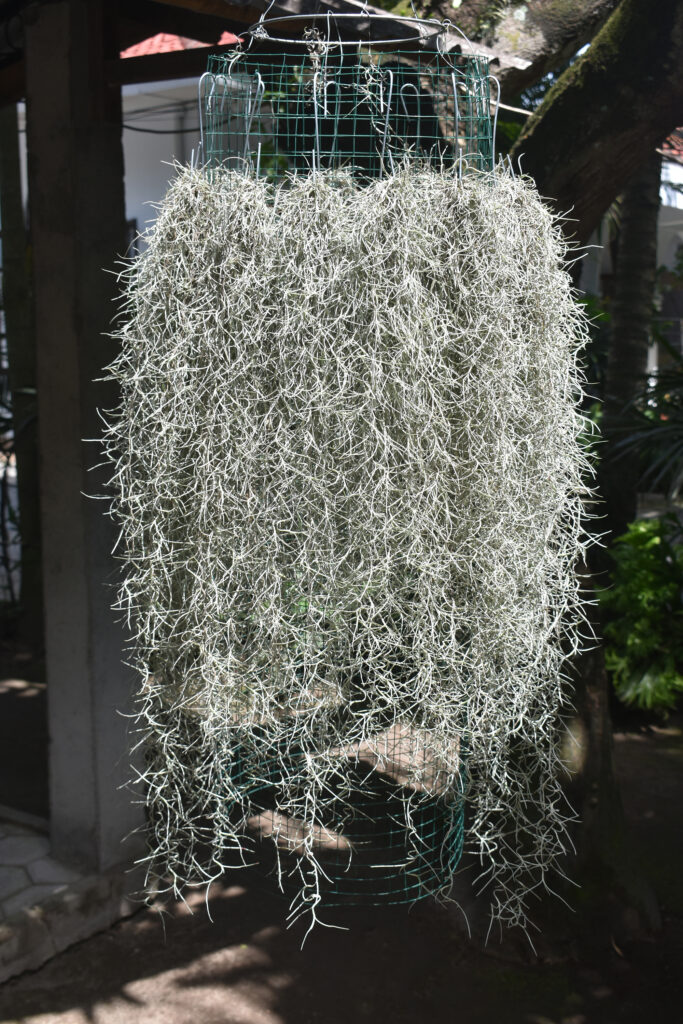
Plants in the Tillandsia genus, which includes around 650 species of evergreen plants in the family Bromeliaceae, are most commonly known as air plants. Tillandsias belong to the epiphyte group. Rather than living in soil like most plants, they survive by attaching themselves to trees, rocks, plants, or other structures. A prime example of this is Tillandsia useneoides or Spanish moss which grows on branches of trees in tropical and semi-tropical areas and is often used as filler in floral displays.
While air plants are native to the West Indies, Mexico, and Central and South America, they are quite happy growing in the warmer climates of Florida, Georgia, California, Louisiana, Texas, and other southern states.
Fun Fact: Carl Linnaeus named tillandsias after the Swedish-born physician and botanist, Dr. Elias Tillandz who preferred to travel by land rather than water. The name is appropriate given that his dislike for water is also shared by Tillandsias.
Tillandsia Survival in Nature
Air plants do not need soil to grow. Their roots do not absorb water and nutrients but are used as a means to attach to tree limbs, bark, telephone wires, rocks, or other supporting structures. They are called air plants because they receive nutrition from moisture, and other debris gathered from wind and rain. They absorb water and nutrients from the air through tiny hair-like structures on their leaves called trichomes. The silvery/fuzzy appearance on the leaves is due to the trichomes.
There are two main categories of tillandsias: Mesic air plants and Xeric air plants.
Mesic air plants are native to humid rainforest areas. They have smoother green leaves and smaller trichomes. They prefer filtered light.
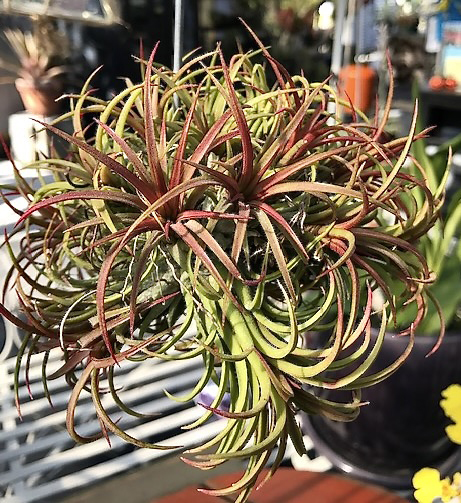
Xeric air plants grow in dryer, desert-like climates. Their trichomes are large and numerous giving them a silvery appearance. Their trichomes reflect more sunlight to protect the plant.
For the home, they are often sold growing on sea shells, driftwood, or other clever displays, but more on that later.
Air Plants in Your Home
Air plants have become very popular over the last few years, mainly because of their ease of culture and unique display possibilities.
Caring for Air Plants
Newly purchased plants should receive a good soaking (see soaking method) for a half hour or so. Remember, this will allow the trichomes to absorb water and get your new plants off to a good start. Remove them from the water and give them a light shake to remove excess water on the leaves and stems. Allow to dry for a few hours.
Misting and Soaking Methods
Misting
Misting only is often recommended. This is fine in greenhouse conditions where there is plenty of humidity, but your home may not provide enough humidity for misting only. Misting alone will not allow the trichomes to absorb sufficient water to hydrate the leaves. If time is a factor, misting every day or every other day may be more time-consuming than with the soaking method where you only need to soak them once every week or two. If misting is the only option, mist frequently with a heavy mist every few days.
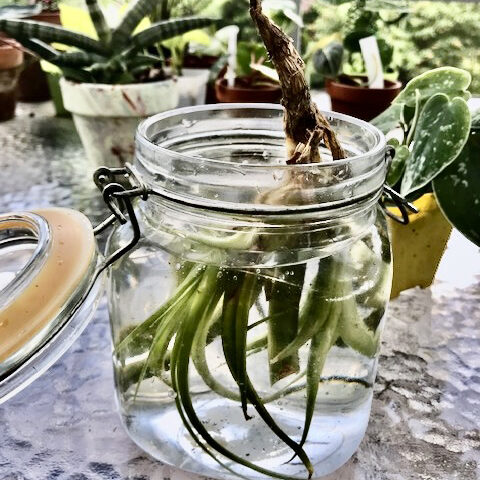
Soaking Method
The soaking method is best for your air plants to ensure they receive enough moisture. Choose a growing container that will allow you to remove your plant regularly for soaking. Fill a sink or bowl with enough room-temperature water to submerge your plant. Place them upside down in the water. Pour water to get the back sides of the leaves wet as well. Avoid getting water on the base or roots of the plant as this is not necessary. Let soak for 10-30 minutes. Remove from water and shake your plant while it is upside down to remove excess water. Place on a towel to dry for a few hours before returning to its permanent area. Dry your air plant upside down.
Air Plants and Light
Place your plant in an area receiving bright, indirect light and good air circulation. Morning direct sunlight for a few hours is okay, but too much hot sun will deplete your plant of moisture. Species with grey, fuzzy leaves will generally prefer a brighter light than those with darker green leaves and even tolerate some morning sun.
Watering Your Air Plant
Follow the soaking/misting methods listed above for general watering. A thriving air plant will have leaves that feel stiff and appear open and flat. Water in the morning to make sure they are fully dry by evening. Do not water roots. Roots are only meant to secure air plants to their surface and do not need water.
If your leaves appear lighter in color and softer, it could be a sign of underwatering. Other signs of an underwatered air plant are leaves becoming dry and brittle, leaves curling, and/or brown tips.
To revive an underwatered plant, first remove any dead leaves. Next, submerge all the leaves in water and leave for 5 to 8 hours. Remove and allow to dry completely before returning it to its container.
If you suspect that you have an overwatered plant, look for brown or black mushy leaves at the base of the plant. Leaves may also turn yellow or brown, or you may detect mold on the leaves. To save your overwatered plant, first remove any diseased, rotted, or brown leaves and roots. Next, air dry your plant by placing it on a dry surface with good air circulation. Plants kept in enclosed containers such as terrariums may be more susceptible to overwatering issues.
Water Quality
Poor water quality exposes air plants to excess salts and other harmful chemicals. This is especially true of plants watered with soft water. Salts can build up over time and prevent the trichomes from absorbing water and nutrients.
Since air plants get their nutrients from water, distilled or reverse osmosis water will not provide the necessary nutrients. This will not be a problem if you have your plants on a fertilizing schedule.
Avoid tap water since it may contain chemicals that can damage your plants over time. Rainwater or spring water is best. You can also water with lake, creek, aquarium, or well water. Make sure the water is at room temperature.
Temperature
Air plants will grow happily in temperatures between 50° and 60° at night and 80-90°F during the day, with and humidity between 50- 70%. Avoid temperatures below 32°. Do not expose plants to cold drafts in the home or place them close to heating vents during winter months.
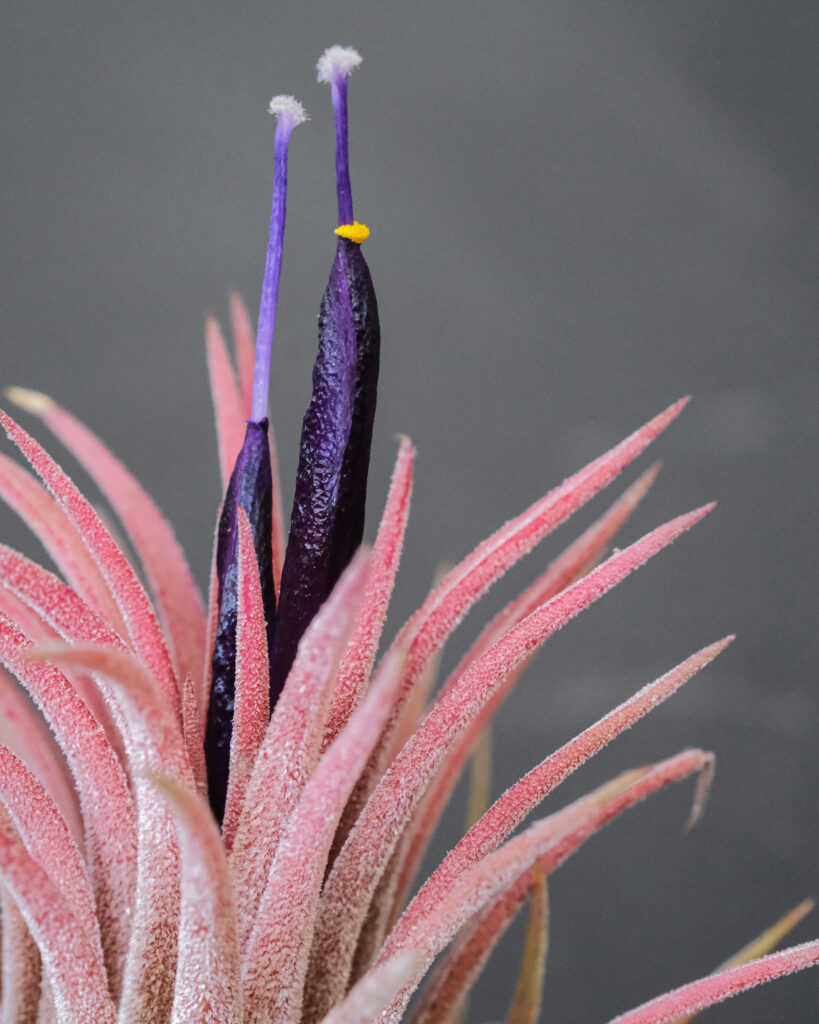
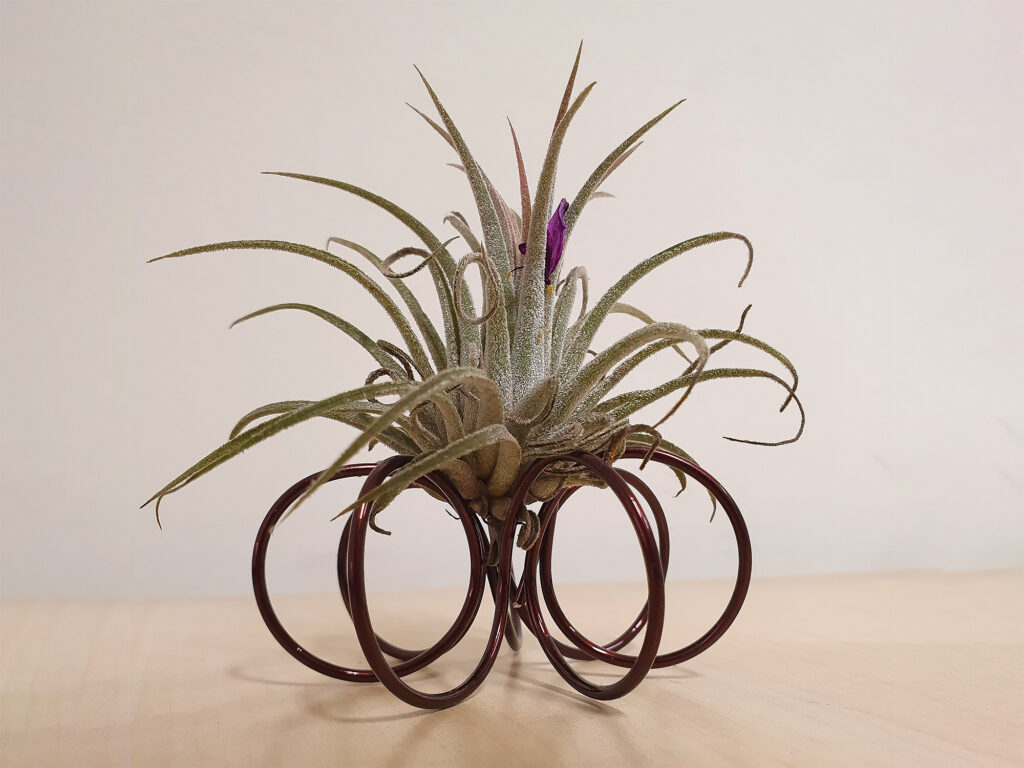
Does An Air Plant Flower?
Many air plants, like other members of the Bromeliaceae family, flower only once in their lifetime, then wither and die. Air plants have a life span of 2-5 years but before the parent plant dies, will develop offshoots (called pups). These are the new plants that will continue to grow. The pups can be separated from the parent plant by lightly twisting or pulling the pup at the base of the crown. Don’t separate the pups until they are one-third to one-half the length of the parent. You can also simply cut away the leaves of the parent plant when they turn brown.
Fertilizing Air Plants
Tillandsias need very little fertilizer, but fertilizing is a good idea to promote optimum growth and flowering especially if watering with distilled or reverse osmosis water. I recommend using a bromeliad or tillandsia fertilizer. It has been diluted to the correct strength and will not burn the leaves when used as directed. You can also use a liquid fertilizer diluted to ¼ the recommended rate.
- Mist once a month with the solution after watering.
- Do not use fish emulsion or any fertilizer containing urea-based nitrogen. These fertilizers need bacteria found in the soil to convert to a usable form of nitrogen.
- Do not use fertilizer containing copper or zinc micronutrients. They are toxic to tillandsias and other bromeliads. Read the label carefully.
- Purchase a fertilizer formulated for air plants. This is the safest type of fertilizer for your air plants. Follow the directions on the label.
Staging & Displaying Air Plants
Air plants are versatile and can be placed anywhere they receive a bright light. There are no limits to how you can mount them.
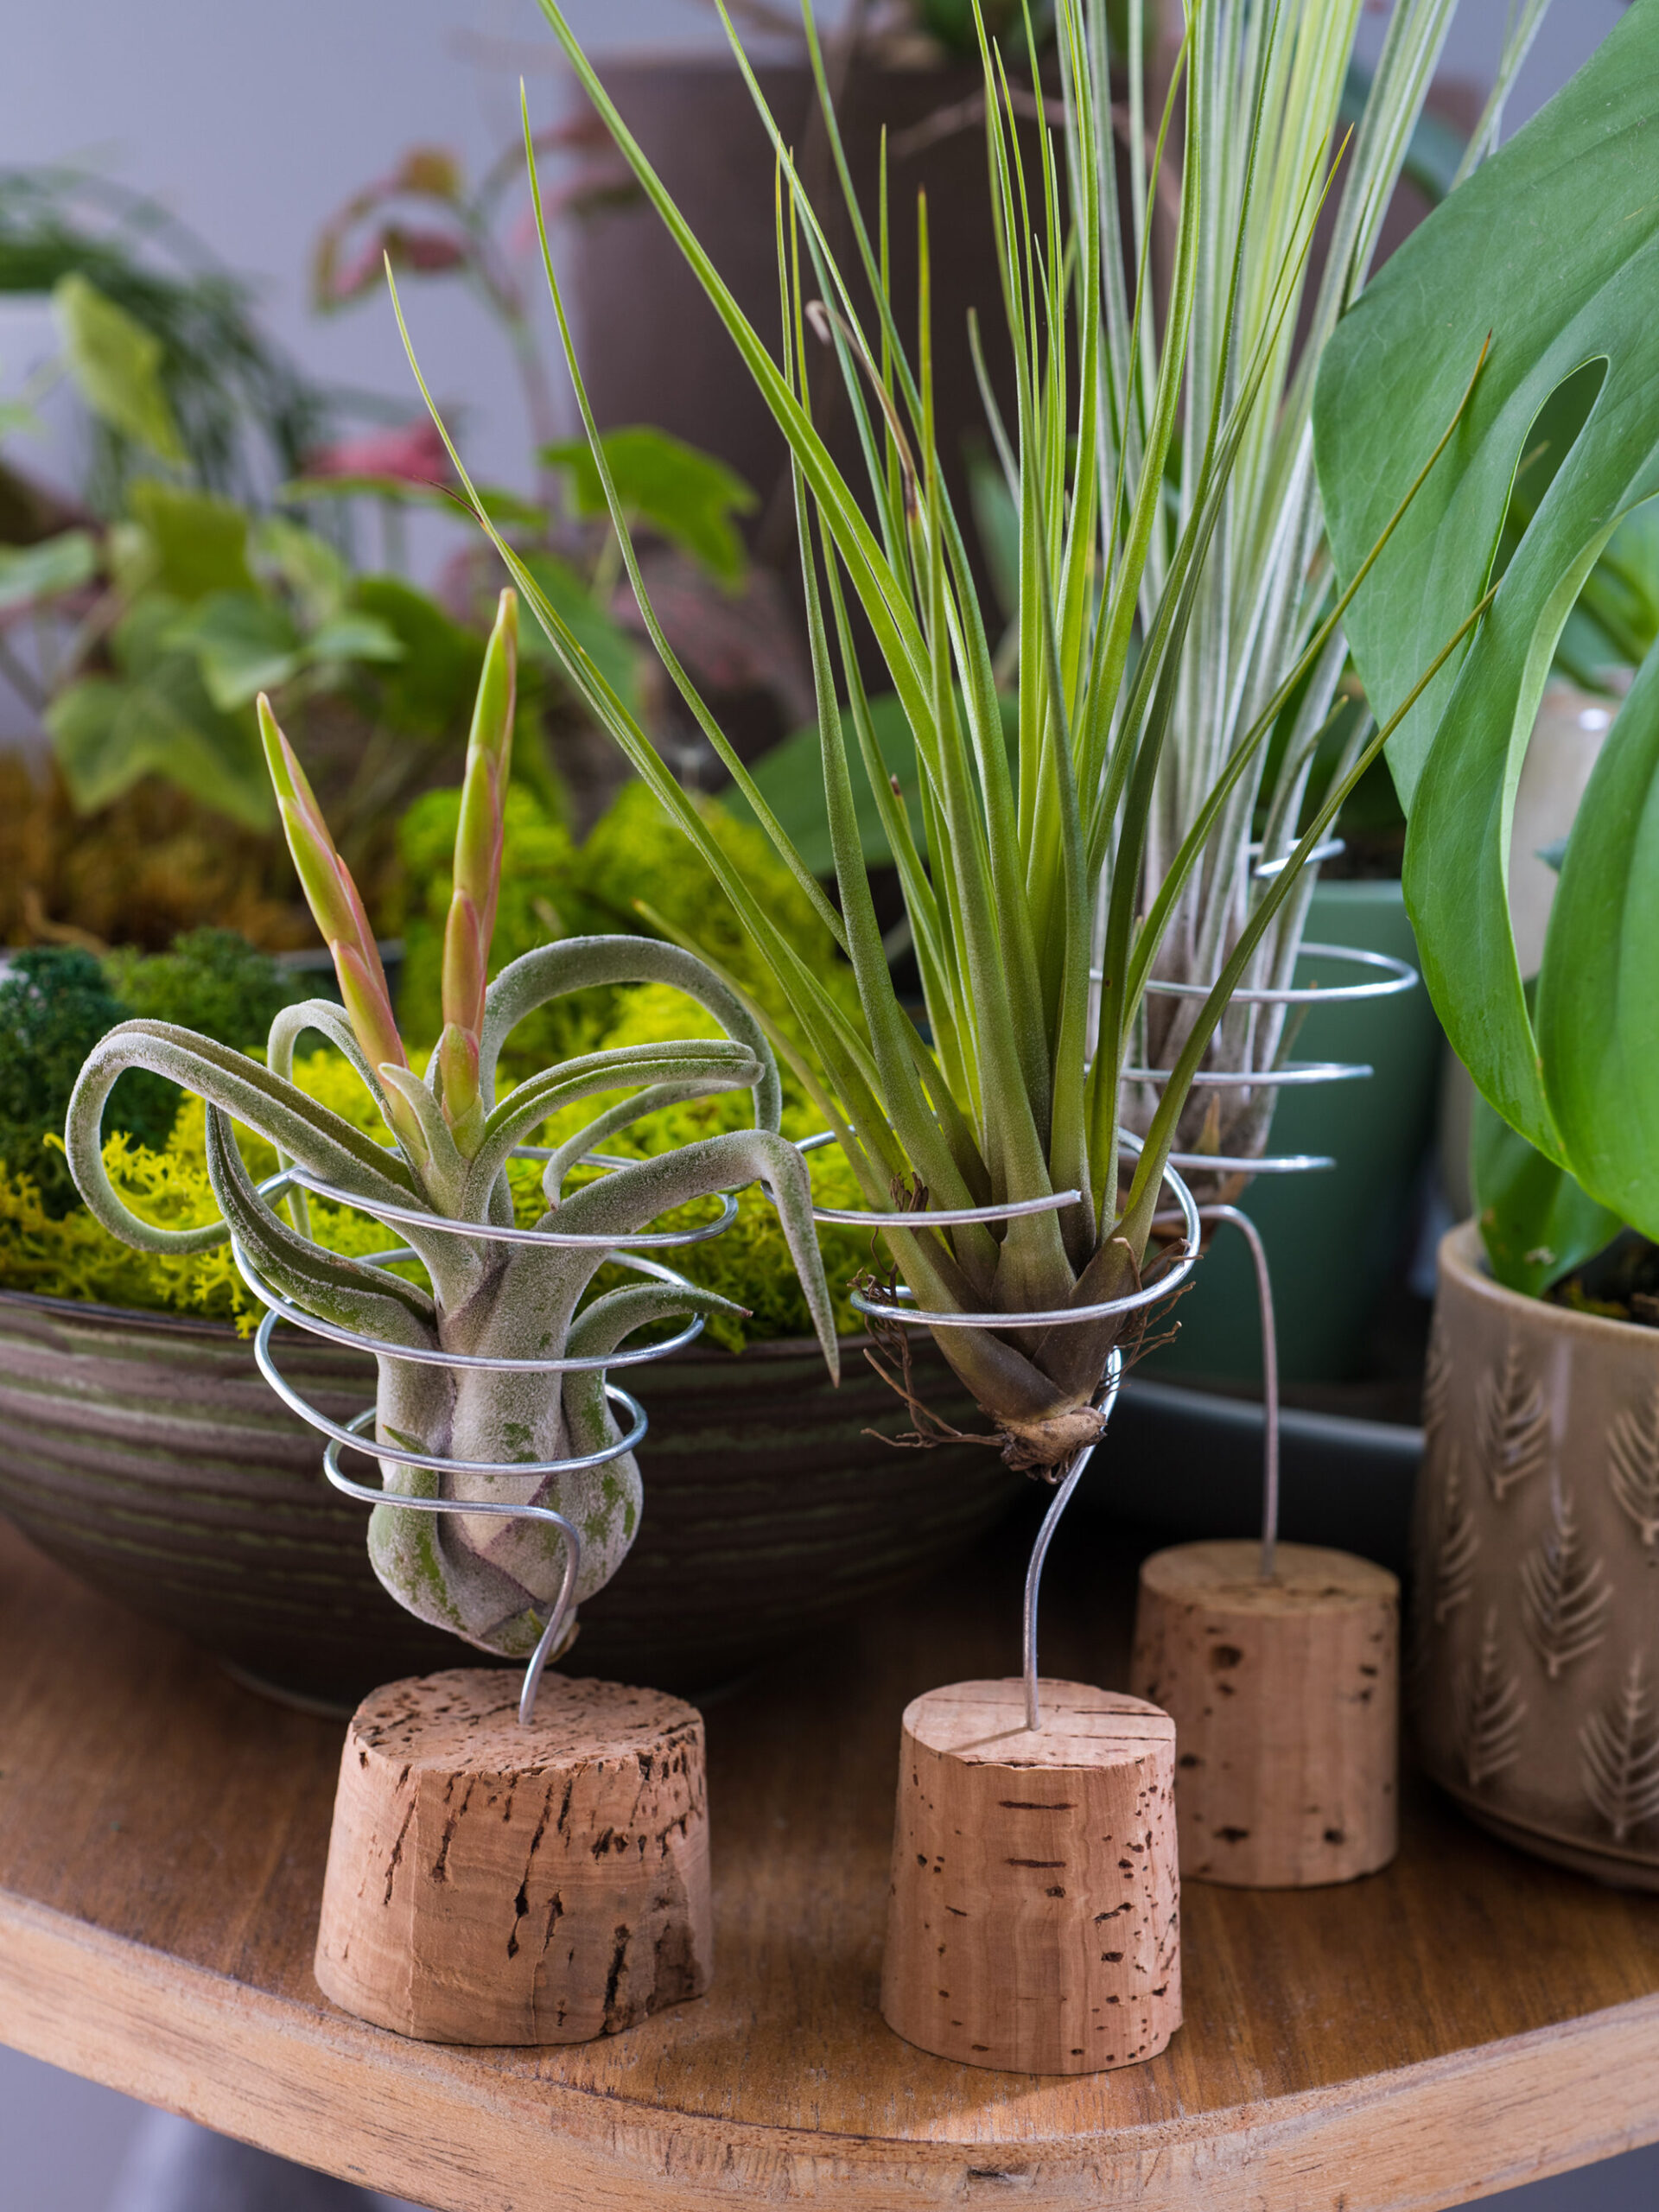
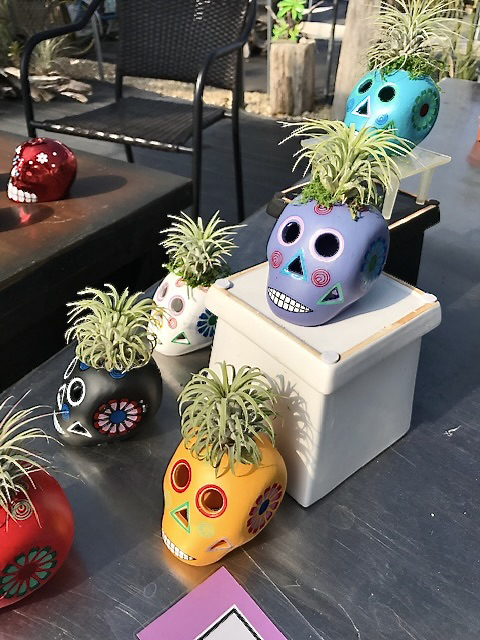
Hang them in baskets, wire cages, or wood slabs with cord, fishing line, or wire. Take a picture frame and attach wires across the frame either horizontally or vertically to mount your favorite air plants to create a living picture. Place them in festive containers for holidays and events.
For presentation on flat surfaces such as table tops or other furniture, pick out whatever goes with your décor.
Air Plant Don’ts
I don’t recommend using glue to mount plants. They are difficult if not impossible to remove from their mount without damaging the stems, especially if you follow the soaking method.
If you decide to use glue to mount your plants, use waterproof glue. Floral adhesives are recommended for mounting or attaching your plants. They are waterproof and will not damage the stems; Apply glue only on a woody base of the plant.
Do not use copper. Copper is toxic to air plants. Do not use copper wire or copper plant holders.
Do not mount on driftwood without soaking. Soak driftwood in fresh water for at least 24 hours to remove any salts within the wood. You can use any other attractive wood pieces but do not use treated wood as it contains copper and other chemicals.
Tip: Visit your local thrift store to find unusual items to serve as containers for your plants.
Troubleshooting Air Plants
Leaf Abscission: Leaf abscission is a natural process where the leaves on the outer-most layer at the base turn brown with age and eventually die off.
While most air plant problems are cultural, air plants are susceptible to mealybug and scale infestations. Dry air, high temperatures, and stressed plants can attract both these pests. Inspect your plants regularly and use Earth’s Ally 3-in-1 combination miticide, insecticide, and fungicide to control these pests.
We’d love to hear how Earth’s Ally 3-in-1 Plant Spray is helping you care for your houseplants! Share your experience and stay connected with the #EarthsAlly community on Facebook, Instagram and Twitter for access to our latest blog posts, giveaways and exclusive promotions.
